
Personal Branding
How to Prepare for a Personal Branding Session in Orlando
Prepare for a personal branding photography session in Orlando with a practical plan for goals, shot lists, wardrobe, locations, props and image use.

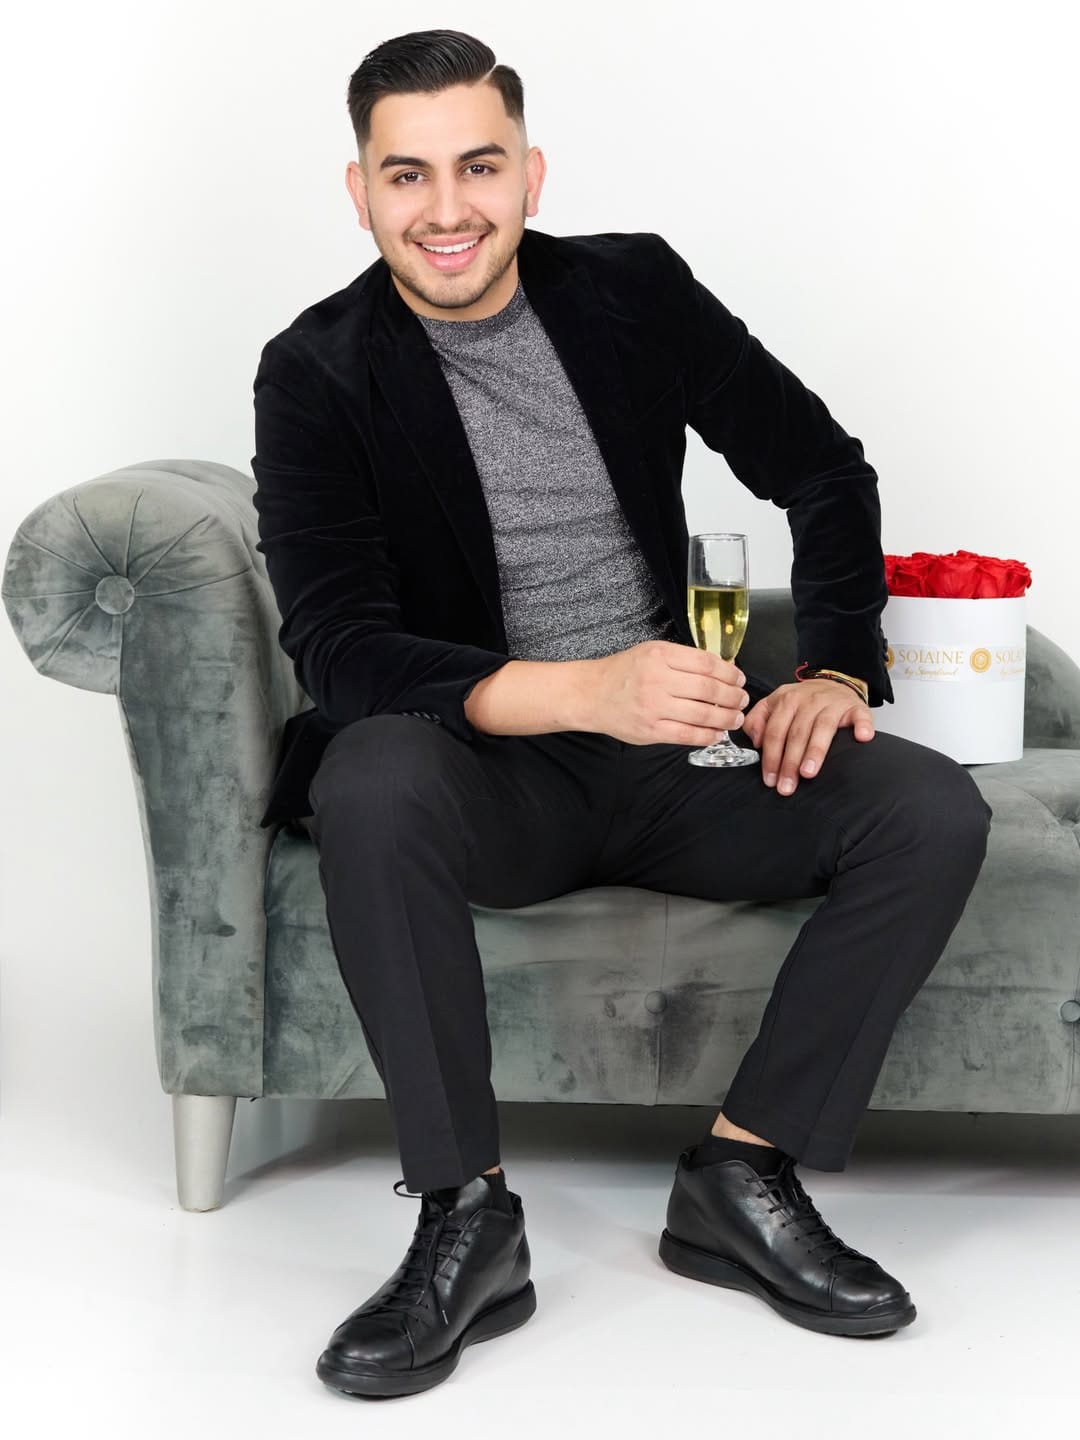
A personal branding session should create more than one polished profile photograph. It should produce a useful visual library that shows who you are, what you do and how clients experience your work.
Quick answer: Prepare for a personal branding session in Orlando by defining where the photographs will appear, who they need to reach and which parts of your work should be visible. Build a short shot list around those uses, choose up to two purposeful looks when the selected session allows them, gather only relevant tools or products, and confirm whether the studio, an outdoor setting or your workplace best supports the story. Sarlen Studios recommends booking Personal Branding sessions about two to three weeks in advance.
The goal is not to photograph every possible idea in one hour. It is to identify the images that will be most useful and give each one a clear job.
Know When You Need Personal Branding Instead of a Headshot
A professional headshot primarily identifies the person. It is often framed closely and used for a biography, company directory, profile or speaker page.
Personal branding photography can include a polished portrait, but it may also show your environment, process, tools, products and interaction with your work. It is useful when a website, campaign or ongoing content plan needs more than one type of image.
Choose personal branding when you need photographs such as:
- A main website or landing-page image
- Professional profile and biography portraits
- Horizontal images with room for text
- Process or behind-the-scenes photographs
- Product-in-use or service-context images
- Vertical content for social platforms
- Details that help explain how you work
Review the current Personal Branding photography service to confirm whether its scope fits the image library you need.
Define the Business Goal Before the Visual Style
“I need content” is a starting point, but it is not yet a plan. Identify the business activity the photographs should support.
Your goal might be to:
- Launch or refresh a website
- Introduce a service or product
- Create a consistent professional profile
- Support speaking, media or partnership opportunities
- Replace generic stock imagery with photographs connected to the real business
- Build a small library for educational or promotional content
Choose one primary goal and a small number of secondary uses. This prevents the session from becoming a collection of unrelated scenes.
Identify the Audience and Message
Consider who should recognize themselves in the photographs and what they need to understand. A potential client may need to see approachability and a clear process. A corporate audience may need precision and confidence. A creative audience may respond to personality, materials and environment.
Select three useful words to describe the intended impression. Examples might include warm, refined, direct, energetic, calm or detailed. Avoid choosing words simply because they sound desirable. They should match the way the business actually communicates and serves people.
Share existing brand references such as a website, color palette or campaign layout. The photographer can use them to understand the context without attempting to reproduce someone else’s visual identity.
Audit Every Place the Photographs Will Appear
Make a list of real placements before writing the shot list. Each format creates different requirements for orientation, crop and negative space.
Review:
- Website homepage and About page
- Service or product pages
- LinkedIn and other professional profiles
- Instagram posts, stories or other active channels
- Email newsletter and signature
- Speaker biography, press kit or proposal
- Printed material already scheduled for production
Record the approximate shape of each placement. A website banner needs a different composition from a circular profile image. If a designer is already building the layout, request guidance about orientation and open space before the session.
Build a Shot List by Function
A useful shot list describes what an image needs to accomplish, not only a pose. Group ideas by function so the most important category receives enough time.
Identity portraits
Plan a close portrait, a medium composition and at least one wider option when relevant. Vary direct eye contact with a more conversational or working expression according to the intended use.
Process photographs
Show a real part of the work: preparing materials, reviewing a plan, using a tool, creating a product or performing a recognizable service action. Choose actions that can be photographed safely and honestly within the selected location.
Context and environment
Include a few photographs that establish where or how the business operates. A workplace, studio detail, desk or relevant outdoor setting can provide context, but it should not reveal private client information or create a false impression about the business.
Product and detail images
When a product is part of the business, identify whether it needs to appear alone, in your hands or being used. The current Sarlen Studios service allows a connected product to support portraits, product-in-use photographs and standalone product imagery within the selected final collection. Confirm the latest scope before bringing multiple products.
Prioritize the Shot List
Separate the list into essential, useful and optional images. The essential list should be short enough to remain realistic if a setup takes longer than expected.
- Essential: photographs required for an active website, launch or profile.
- Useful: supporting images that expand the visual library.
- Optional: experimental ideas attempted only if the essential work is complete.
Share the priorities before the session. Do not arrive with a hidden list of required images that changes the agreed scope or location.
Plan Horizontal and Vertical Compositions
A strong photograph can still be difficult to use if it does not fit the intended layout. Identify where text, a menu or a button may need open space and which direction the subject should face in the design.
The Personal Branding service is designed to include horizontal and vertical compositions, but the final shot plan should still reflect actual uses. Ask for space intentionally rather than assuming every image can be cropped into every shape.
For profile images, keep in mind that platforms may display a square or circular crop. For banners, a wider composition with carefully placed subject matter is usually more flexible than cutting the sides from a close vertical portrait.
Choose Two Looks With Different Purposes
When the selected session permits up to two outfit changes, give each look a separate job. One might support a polished website portrait while the other feels more conversational for educational content or social media.
The outfits should still belong to the same brand. A change in jacket, layer, color or formality can create range without making the final gallery feel like two unrelated businesses.
Check each complete look while sitting, standing and performing the planned actions. Clothing that requires constant adjustment can interrupt process photographs. For detailed guidance on fit, color, patterns and professional formality, read What to Wear for Professional Portraits in Orlando.
Use Brand Colors Without Becoming a Logo
Your clothing does not need to match the logo exactly. Brand colors can appear through a restrained layer, object, background or product while neutral tones create visual balance.
Consider how the photographs will sit inside the existing website or campaign. If the layout already uses a strong brand color, clothing in the same tone may disappear into the design. A complementary or neutral option may integrate more naturally.
Bring a digital or printed palette rather than describing colors only by name. The photographer can then evaluate the palette beside the planned location, clothing and props.
Select Props That Explain the Work
A prop should help the viewer understand something specific. Choose real tools, products, packaging, materials or devices you actually use. Remove unrelated items that create visual noise.
For each object, ask:
- What does this tell a potential client?
- Can I interact with it naturally?
- Is it clean, current and visually representative of the business?
- Does it expose private information, another client’s identity or confidential work?
- Can it be transported and prepared within the session time?
Clean devices and remove notifications, passwords and personal information from visible screens. Prepare sample documents or demonstration content when real client material should remain private.
Prepare Products Before the Session
If products will be photographed, inspect every side that may face the camera. Remove shipping labels, dust, fingerprints and damaged packaging unless those details are deliberately part of the story.
Bring a small number of representative items instead of an entire inventory. Identify the hero product and one or two supporting variations. If size, reflections, assembly or temperature affect photography, explain those requirements during planning.
Standalone product photography within a branding session still shares time with portraits and process images. Confirm priorities and final-image selection before expecting a full catalog.
Choose the Setting for the Brand Story
Studio
A studio offers controlled light, privacy, predictable backgrounds and fewer visual distractions. It can work well for refined portraits, clean product compositions and a consistent visual palette.
Outdoor setting
An outdoor location can communicate energy, movement or a connection to Orlando, but it introduces weather, humidity, wind, walking and public activity. The location should have a real connection to the visual direction rather than being selected only because it is attractive.
Workplace or client location
A real workplace can show process and context efficiently. Prepare the environment, remove confidential material and confirm permission, access, parking and any operational restrictions. Do not stage a location as your workplace if that would misrepresent the business.
Compare the practical tradeoffs in Studio or Outdoors? Choosing the Right Setting for Your Photo Session.
Plan for Orlando Conditions
For outdoor or workplace sessions, account for travel, parking, equipment access and the current forecast. Heat, humidity, wind and rain can affect clothing, hair, products and the time needed to move between setups.
Monitor actual conditions close to the date rather than relying on a seasonal assumption. If the brand requires a precise background, controlled styling or several small products, the studio may reduce environmental variables.
Confirm Every Participant in Advance
The current Personal Branding service is designed around one person. If a partner, employee, model, client stand-in or collaborator needs to appear, disclose that during the inquiry.
Additional people affect posing, releases, timing, location and the appropriate service. Do not invite participants on the session day without confirmation. If someone is present only to assist with products or styling, clarify whether they will appear in the photographs.
Prepare the Website or Layout References
Bring the current website, a wireframe or screenshots of planned placements when available. Mark where photographs, headings and buttons will appear. This helps translate a general request for “website images” into specific compositions.
If the website is not yet designed, identify flexible needs:
- A wide hero image with open space
- A close About-page portrait
- Vertical service or social images
- Process photographs with room for cropping
- Details that can support page transitions or calls to action
Final usage, licensing and delivery terms should be confirmed in the proposal or agreement. Do not assume that one photograph automatically fits every future campaign or format.
Organize the Session Day
Pack complete outfits separately and organize props in the order they will be used. Charge devices, prepare products and bring the approved references in an accessible form.
A simple session flow might move from:
- Primary professional portraits
- Horizontal and vertical variations
- Process or product interaction
- Second look or layer
- Remaining detail and optional images
The final order should respond to the setting, light, clothing and product requirements. Treat this as an organizational framework, not a guaranteed minute-by-minute schedule.
Allow the Photographer to Direct the Mechanics
You do not need modeling experience. The preparation work defines the message and priorities; during the session, the photographer can guide posture, hands, movement and expression.
Practice explaining your work aloud rather than memorizing poses. A real action or point of attention is often more useful for branding photographs than holding an unfamiliar position. If the camera itself feels distracting, review How to Feel Comfortable in Front of the Camera.
Select Final Photographs by Use
When reviewing the private selection gallery, return to the original placement list. Select photographs that cover different functions instead of choosing several nearly identical expressions.
Look for a balanced final group:
- A primary portrait
- A wider contextual image
- At least one horizontal composition
- At least one vertical composition
- A process or product photograph
- A supporting detail when it contributes to the story
The current Services page explains the included selection and retouching process. Use that source for current quantities and turnaround rather than an older screenshot or social post.
Personal Branding Session Checklist
- I have one primary business goal for the session.
- I know the audience and three accurate brand qualities.
- I listed the real placements, orientations and crops needed.
- My shot list is divided into essential, useful and optional images.
- Each outfit has a purpose and works with the brand palette.
- Props and products are relevant, clean and free of private information.
- The selected setting honestly supports the business story.
- Every participant and location requirement has been disclosed.
- Website layouts or placement references are ready when available.
- I will select final photographs for variety and actual use.
Frequently Asked Questions
How far in advance should I book a personal branding session in Orlando?
Sarlen Studios recommends booking about two to three weeks in advance. Begin earlier when the session involves a workplace, ordered products, custom styling or several schedules that require coordination.
How is a personal branding session different from a headshot?
A headshot primarily identifies the person. Personal branding can add process, environment, products, tools and multiple compositions intended for a broader visual library.
How many outfits should I bring?
Begin with one strong primary look. The current Personal Branding service allows up to two outfit changes, so a second look should create a distinct level of formality or content use while remaining consistent with the brand.
Can I bring products?
Yes, when they are connected to the work and confirmed during planning. Prioritize a small representative group and explain whether each product should appear alone, in use or as a supporting detail.
Can my team be included?
Do not assume additional people are included. Share the number, roles and intended photographs during the inquiry so Sarlen Studios can confirm the appropriate scope and service.
Should I choose a studio or my workplace?
Choose the studio for control, privacy and a clean visual system. Choose the workplace when the real environment and process are important and the space is prepared, permitted and visually suitable. An outdoor location may work when it has a genuine connection to the brand.
Plan Your Personal Branding Session in Orlando
A useful branding gallery begins with business decisions, not poses. Define the audience, placements and essential photographs first, then let clothing, setting, props and direction support that plan.
Explore the Personal Branding photography experience, learn more about Alejandro’s approach to preparation and direction, and browse the Sarlen Studios Portfolio.
When your goals, intended uses and initial shot list are ready, start a Personal Branding inquiry with Sarlen Studios.
Ready when you are
Turn preparation
into photographs.
Tell us what you are planning, who will be photographed and the date you have in mind. Sarlen Studios will personally review the inquiry and help shape the next steps.
Begin your inquiry View related work